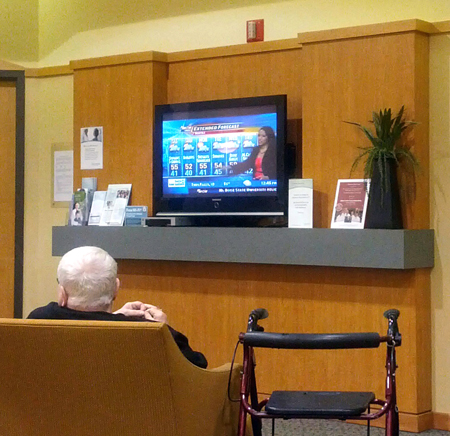
Last spring, Captain OCD and I took an infected cut on his finger to prompt care. While waiting, I ran out of waiting patients to play Guess the Ailment on, and turned my eye toward the wall with the TV.

I don’t know this woman and was trying to be sneaky with my phone. My guess is that people prefer to not have strangers taking photos of them while they wait in prompt care on a Saturday morning.
Hmm. We have a wall. In front of the wall had been a TV and a stack of components waiting for a home, but I couldn’t make up my mind exactly what do with them. Cabinet? Rack? Table? All too easy. Maybe I could build out the wall, sort of like this, and hide all the cords and wires.
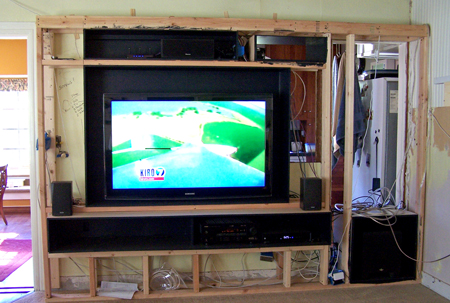
Several months later, this is what we had:

Don’t worry, those are not live wires in the zip-loc bags, just excess wire, waiting to be used. By the time I was done, there ended up being over 100 feet of wire in and to this thing.
On the right is the old doorway into the kitchen. We’ve never used it, but it’s the way the heat gets from the wood stove in the kitchen (opposite side of this wall) to the rest of the house. Should you ever wonder if it might be nice to see the back of your refrigerator from your living room, here’s your answer.
I built plywood boxes for the TV, the sub-woofer (bottom right), main components (under the TV, which sticks out about a foot from the wall, so it’s also a shelf), and other components, like the center speaker and router (above the TV), and then set them in the framework. I wanted the components to disappear, so I painted the inside of the boxes black. My power tools consist primarily of a mid-priced chop saw, a crappy portable table saw, a cordless drill and circular saw, and no workshop, so the black also served to hide the less-than-precise joinery (big fan of caulk here). I was worried about how the black would work, but I couldn’t be more happy with the way it turned out – it functioned exactly how I’d hoped.
There are outlets spaced evenly on the bottom of the component box, behind the TV, in the sub box, and in the upper component box. All of the outlets and switches are black (got them at Home Depot). To route cords and cables, I used wall plates like these, (but I got them at Lowes), at least two in each box, and spray-painted them black (I love that stuff).
I tried to future-proof this somewhat, which is why the TV box is bigger than the TV. And also why half of the bottom box is empty (ditched the DVD and CD players), so there are wires, TV cable, fiber optic cables, HDMI cables, ethernet cables, and speaker wire, with some extra of each, going from box to box. I also ran a dummy pull-cord through each route for future wire pulling. It took two of those wall plates to accommodate all the cable, cords, and speaker wire going to the back of the receiver. We have an older 5.1 receiver with only 1 HDMI outlet, so I ran extra HDMI cables and two extra speaker wires because I plan to go with a 7.1 receiver when I upgrade.
I also moved the router to this wall because it’s more centrally located. That involved running an Ethernet cable from the modem on the inside of an outside wall to this wall, then back to the room where the desktop computer and modem are. Amazon, again, for cheap good quality cables, cheaper than Monoprice in this case. I was going to go with black Ethernet cables, but got purple because they were lots cheaper. Turns out the color didn’t matter because they are hidden so well.
Then I realized that my white router simply wouldn’t do amid all the black. So, what the hell, I didn’t have anything to lose, and got out a Sharpie. Do you see a white plastic box in the upper left box above the TV? The Sharpied router disappeared. Up close, it looks like a black box and not a marker-covered white box, and the blue lights show through the Sharpie.
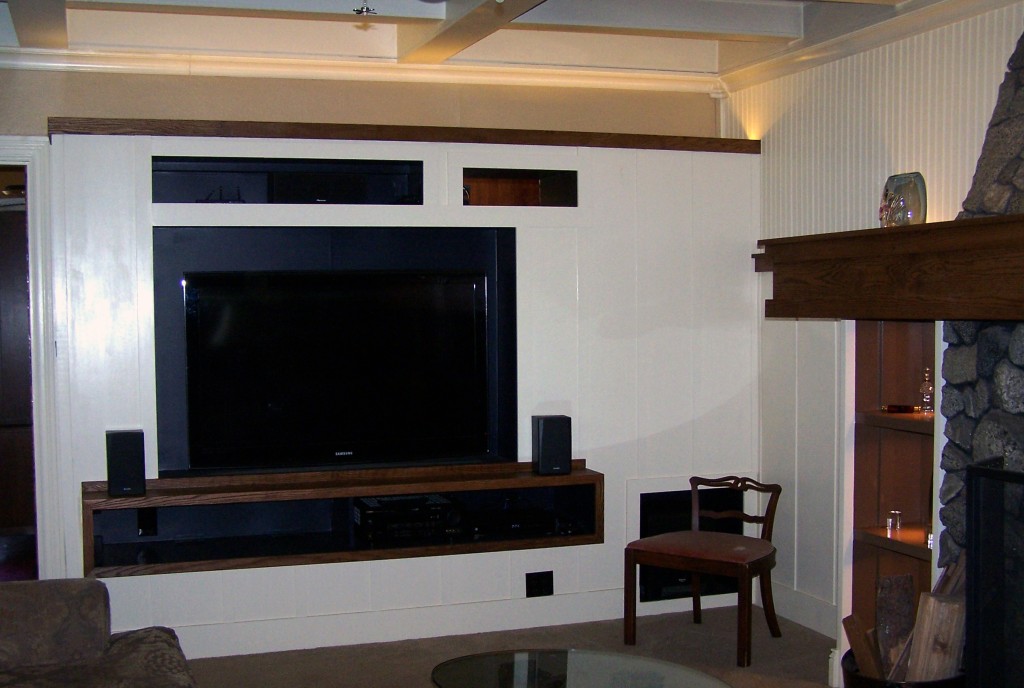
This is what we ended up with:

I’ve tweaked the exposure beyond optimal to see inside the boxes a bit. That’s not a sprinkler head. It’s a fan-shaped thing on the end of the fan pull cord. The plan was to have it wired directly to the wall switch, but that would have involved tearing the ceiling out to get to the old wires and I’d had enough. So, the wall switch turns on the power to the fan and light, but the speed controls are on the pull chain. Just that was a two-week project because there is some weird legacy wiring going on here.
This project included painting the whole room, re-doing the mantel (right), and re-doing lighting. Inside the mantel and above the TV wall I used these, and am quite pleased. So pleased that I’m going to buy more, because there will be more light projects.
The Christmas tree will go in the corner where the chair is (no more moving furniture to make room for the Christmas tree), and that double-duplex outlet is wired to two switches for tree lights. That, the mantel and bookshelf lights, switched outlets in the mantel, the upper TV wall lights, and an overhead light/fan are all wired to switches on the outside end of the TV wall. Six switches in all, on three dual switches (like this, but black) so it doesn’t look like a cockpit.
I spent many hours trolling for ideas and help with this project, which is why I post this sort of thing. If you have other things to do, stay away from Houzz.
